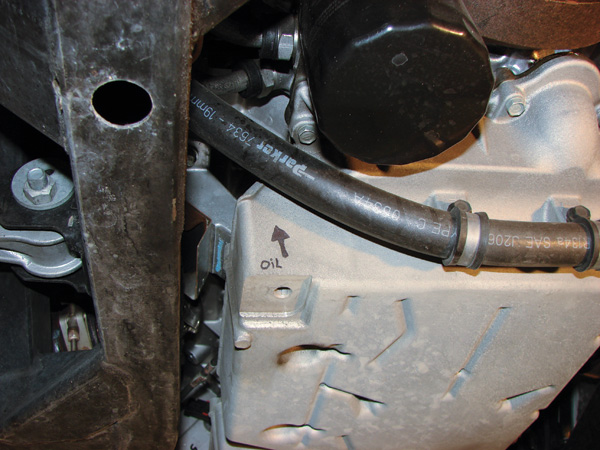
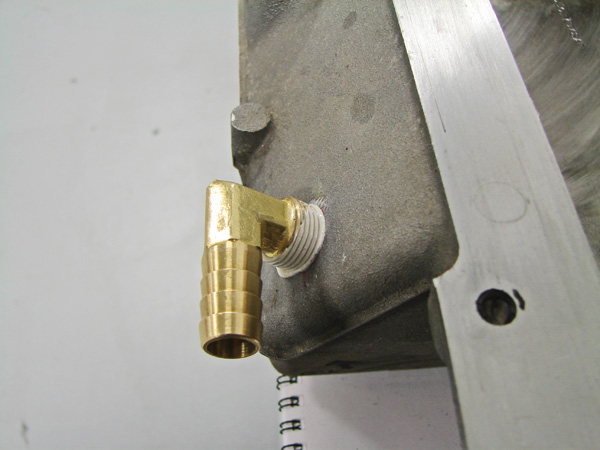
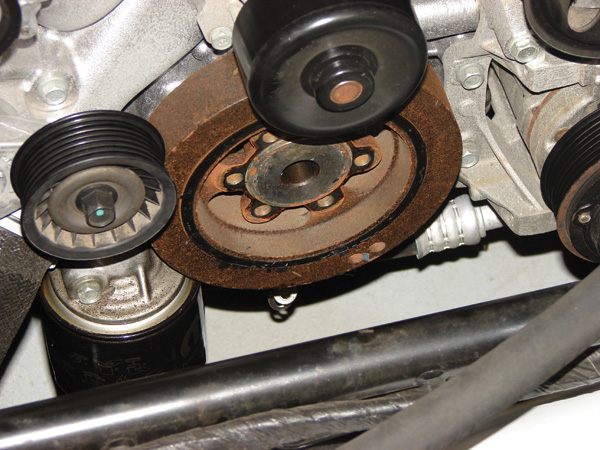
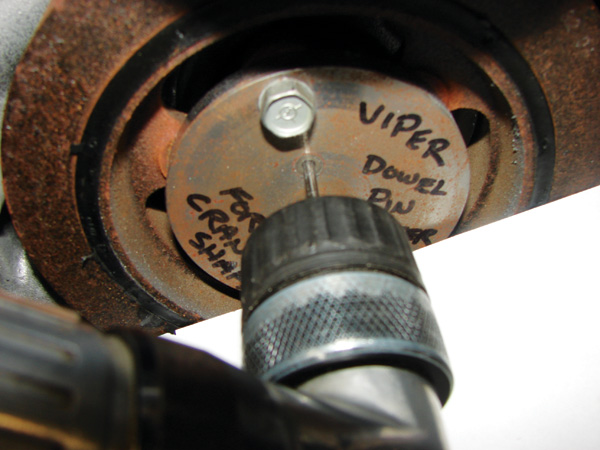
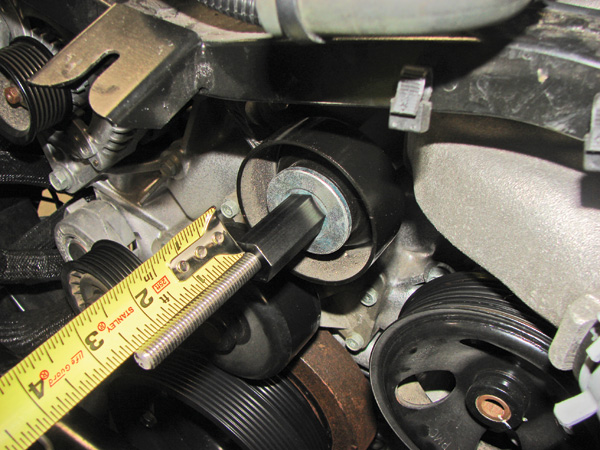
Give Your Viper a Boost
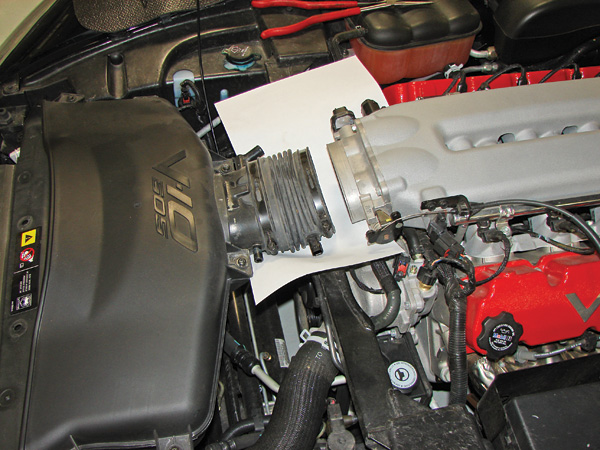
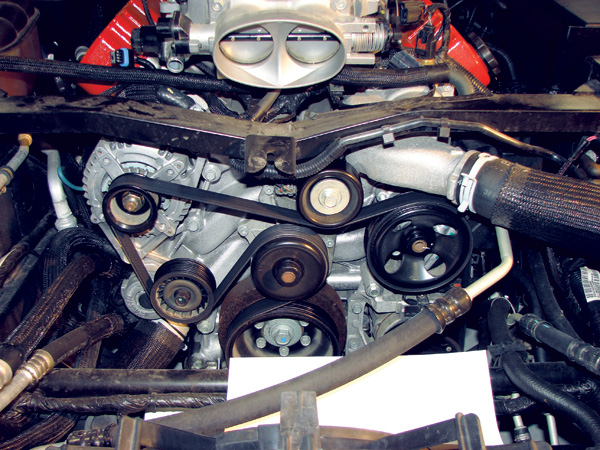
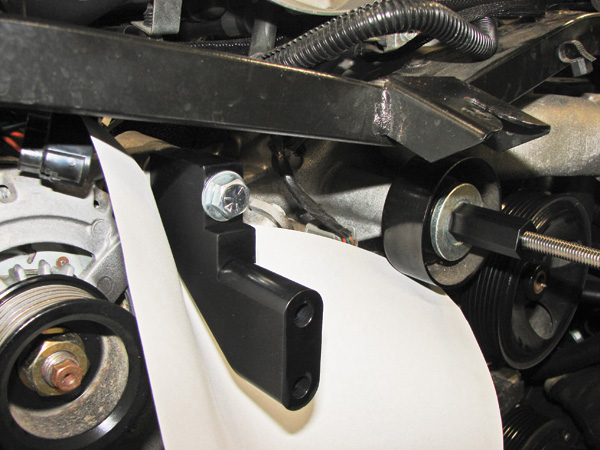
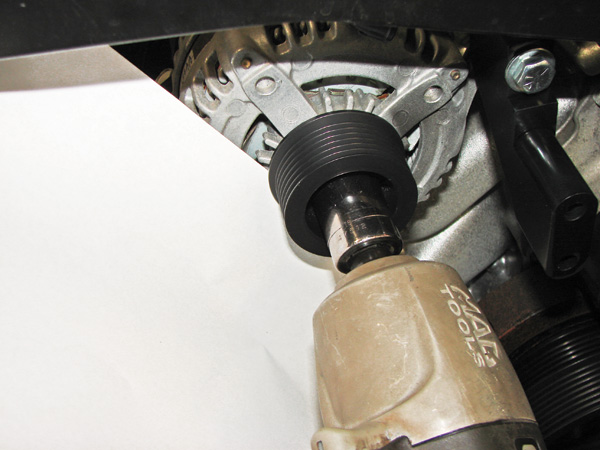
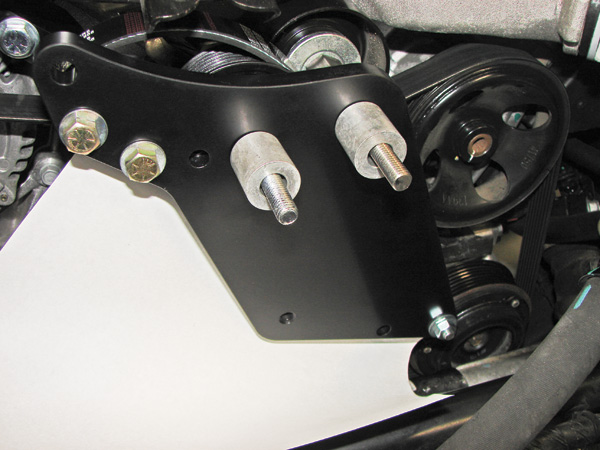
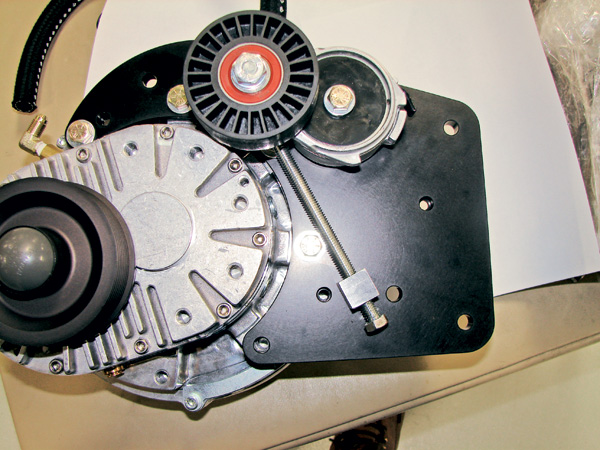
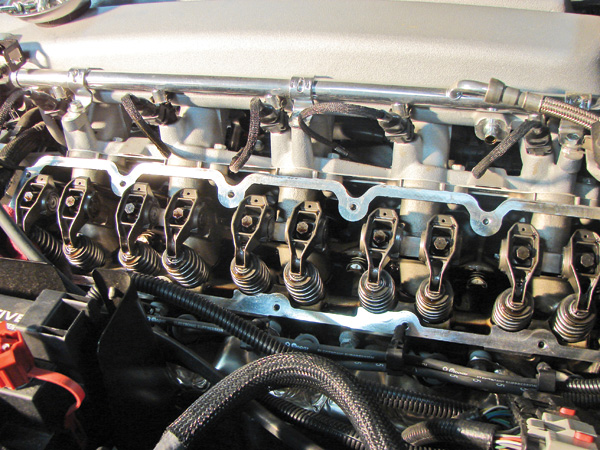
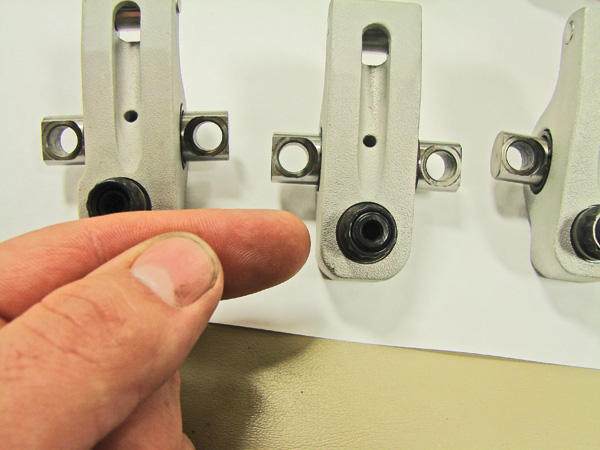
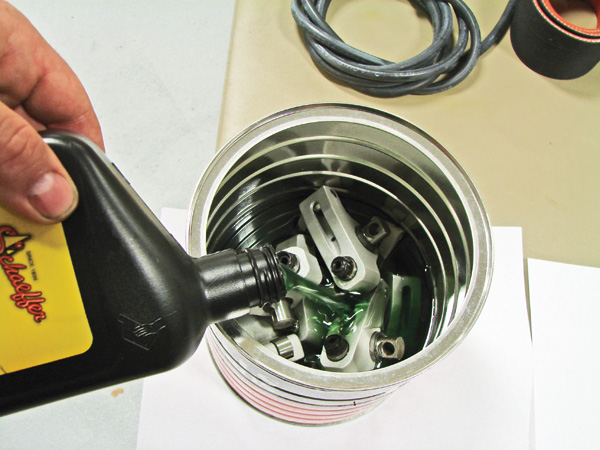
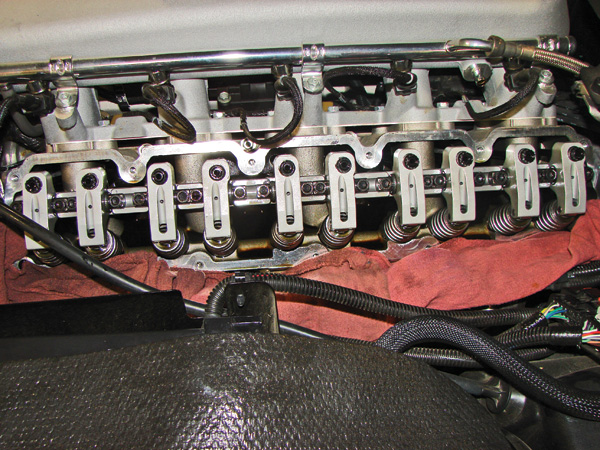
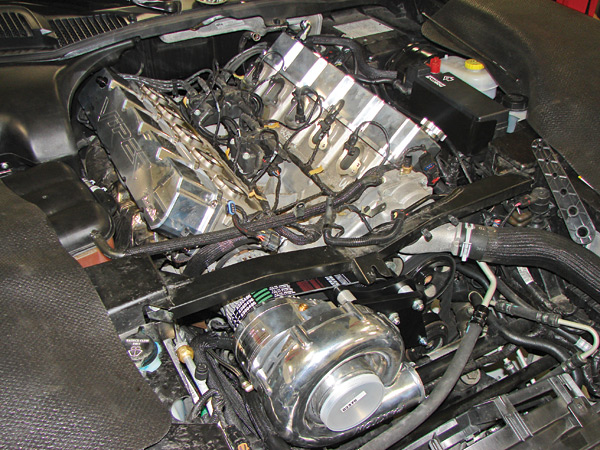
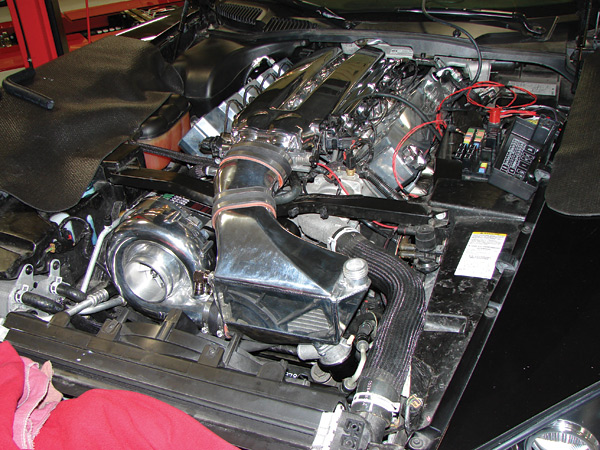
 To the uninitiated, the thought of taking the stock 500 hp 8.3L Dodge Viper engine and boosting it up another performance level seems like overkill. After all, when most people look at a Dodge Viper they see the ultimate American super car. However, for many in the Viper Nation, 500 hp is merely a starting point. For those Viper fanatics looking to squeeze out every ounce of horsepower and torque that the Viper V-10 can muster, we offer this blow-by-blow account of how to add some snarl to your Snake with a polished Paxton supercharger kit, polished valve covers and Crower rocker arm assemblies, courtesy of Big 3 Performance, in Green Bay, Wis.
For more information on Big 3 Performance, visit www.big3performance.com.
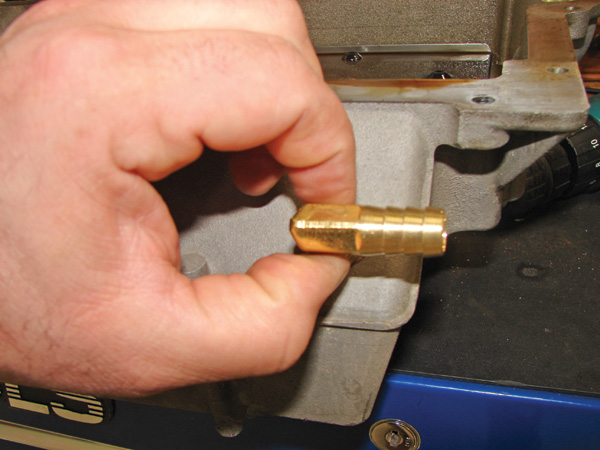
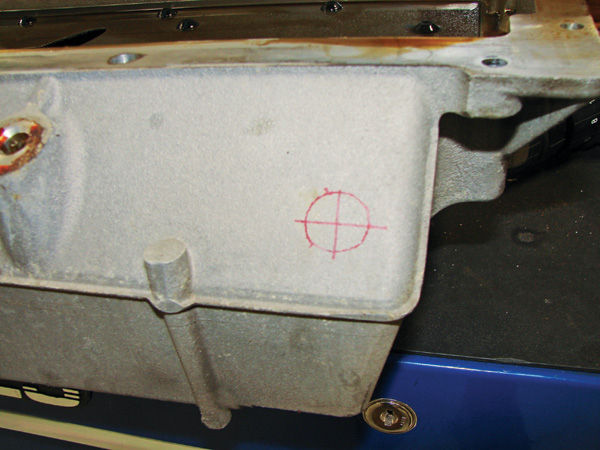
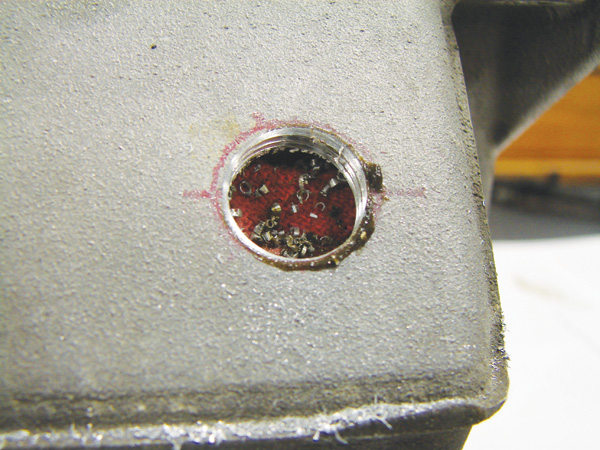
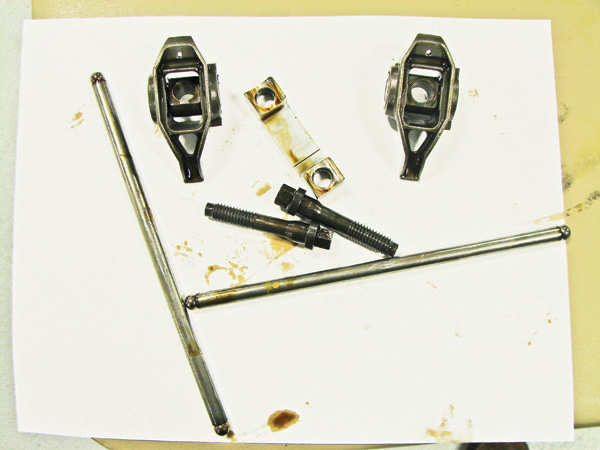
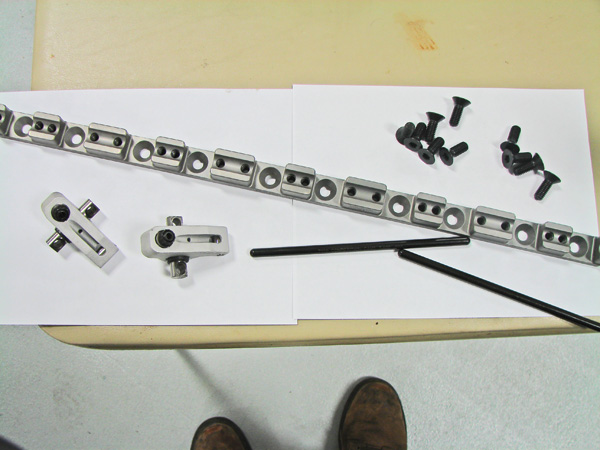
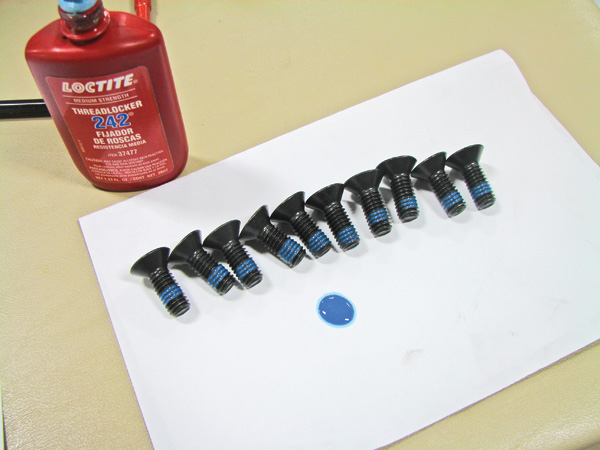
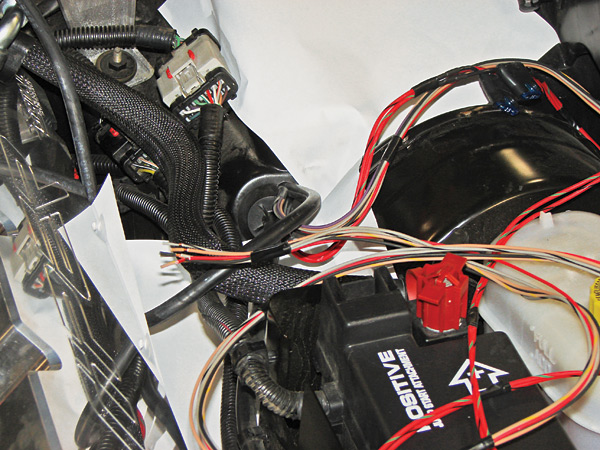
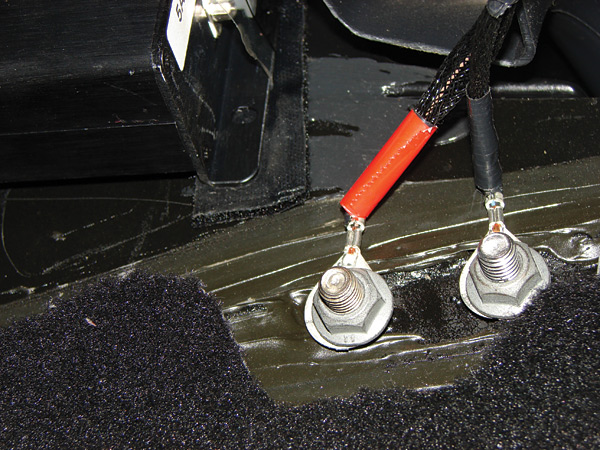
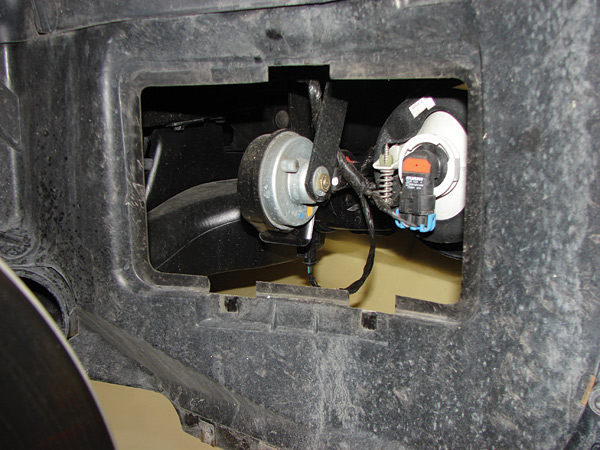
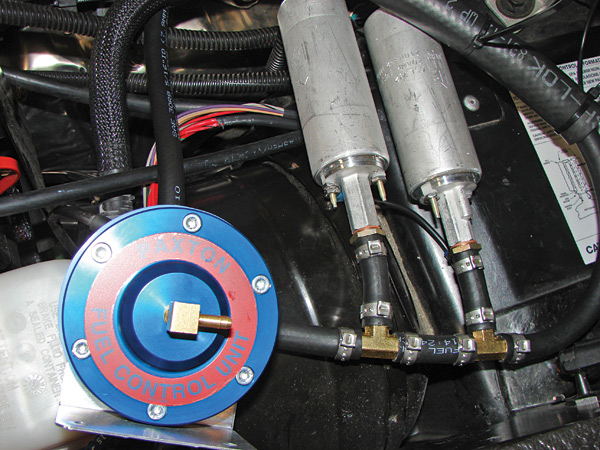
Note: How-to install photos and captions courtesy of Big 3 Performance. Space limitations do not permit coverage of all aspects; therefore, please refer to the detailed instructions included with the manufacturer’s kits. The procedures and comments in the article do not reflect the opinions and endorsements of Chrysler LLC or J.R. Thompson Company.